Ncomputing Vspace For Windows 7server6 6 9 1 Zip
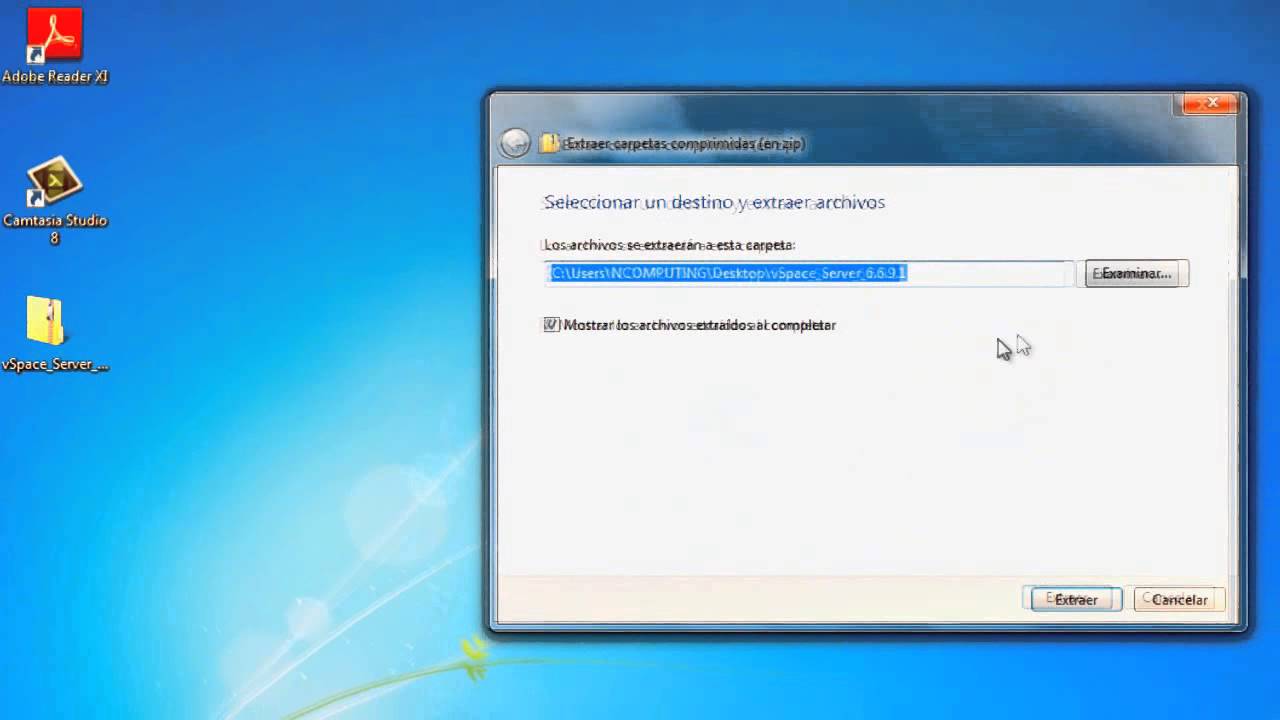
Jan 14, 2018 - Ncomputing Vspace For Windows 7 Server 6 6 9 1 Zip Pouched. Download vSpace_Server_6.6.9.1.zip torrent from software category on. May 21, 2018 - Ncomputing Vspace For Windows 7 Server 6 6 9 1 Zip. Simply run the vSpace installer (while the system is a domain member) and select the.
Scope: Affects 'Classic Version' vSpace 6.6.9.1. Summary: We have received reports in the past, regarding aged deployments that suddenly stopped working and the sessions will no longer login.
Solution: The easiest and most practical first step of troubleshooting, would be to reboot your server. In case that does not work, we suggest to run the executable described below in order to restore vSpace to its original integrity. By running this file, you should not experience any changes in configuration or settings. • Download the file attached to this article (attached: NComputing_Fix4020.zip). • Move this file to the server(s) in question, and unzip the EXE file contained within. • Launch the NComputing_Fix4020.exe by double-clicking the file.
You may see, or not, a command prompt window opening and closing briefly. 2 * Ncomputing L300 connecting on a Windows 7 pro (64bit Greek) vSpace server stopped working 2*L300 was working - NComputing L300 Terminal Computer PC question. From 10 March 2015 the two L300's that connect to a Win7 64bit vSpace server 6.6.9.1M cant connect anymore. 1 Answer When ncomputing x550 windows 7 install completed but monitor. The fix has been applied at this point. • Once the process is complete, reboot the server.
• Verify that the server has been restored to full functionality by connecting one or more devices. You can use vSpace 6 / 8 MSI install files from the Windows command line to silently install vSpace without user interaction. Note: depending on version of installer, you may need to use the NComputing Cert or the ZeroDesktop Cert. Below is an example of the command line install: msiexec /qn /norestart /i 'NComputing vSpace_L-4.9.5.11.msi' AGREETOLICENSE=yes ADDUSERS=0 DELETELICENSE=0 NComputing MSI Installer and Uninstaller Options: • You must include the 'AGREETOLICENSE=yes' during a silent install to signify that you agree to the NComputing End User License Agreement • The 'ADDUSERS=0' command line option is necessary for silent installs and suppresses the popup window asking if you want to add new users.
• The uninstaller now contains a Message Box to provide options for handling an existing vSpace host license during an uninstall. The available license options for use in a silent uninstall/install are: “DELETELICENSE=0” – do NOT remove vSpace license “DELETELICENSE=1” – popup box will appear “DELETELICENSE=2” – remove vSpace license without popup If you encounter the signed driver message popup (shown below), it’s because NComputing’s (ZeroDesktop) code signing certificate hasn’t been stored into the host system’s certificate repository. Programma dlya razdevaniya lyudej na fotografii 1.
If you have ever clicked on the “Always trust software from NComputing or “ZeroDesktop.” checkbox (pointed to by green arrow in above image) during an install, then the message will never pop up again on that particular system. However, clicking that checkbox isn’t a particularly good option for customers desiring to deploy NComputing vSpace on a system for the first time. You can use the following Microsoft command inside your silent install script to import the certificate prior to running the msiexec command: certutil -addstore 'TrustedPublisher' ZeroDesktop.cer Adding the import command similar to shown in screen shot below to your install script will make the install truly silent. (The below image is a representation, and you may be using the ZeroDesktop cert) The Microsoft “certutil” command line tool is included in Windows 7*, and in Windows Server 2008 R2. For vSpace 6.6.2.3 and above, use the file labeled 'NC-code-signing-vSpace 6.zip' for vSpace 8.4 and above use NC-Code-Signing-vSpace8.zip from the file NC-code-signing-vSpace_certs attachment Article: 303.
General Installation Instructions: New vSpace Pro 10 installations should be performed on computers with fresh installs of supported Windows OS versions. VSpace Pro 10 relies on Remote Desktop Services thus the Remote Desktop Services must remain enabled after vSpace Server installation to ensure correct system operation. When installing vSpace Pro 10 on a standalone Windows Server (not belonging to Active Directory domain) the Remote Desktop Services will be automatically enabled during vSpace Server installation. When installing vSpace Pro 10 on a Windows Server joined to an Active Directory domain the Remote Desktop Services must be enabled prior to vSpace Pro 10 installation. Any application software should be installed after completing vSpace Pro 10 installation and rebooting the system. Refer to ‘ ’ for more detailed installation instructions. Windows 10 Fall Creators Update (version 1709) specific Installation Instructions: vSpace Pro 10.5.0 now supports Windows 10 Fall Creator update (version 1709).